Want to be a Contributor?

WANT TO BE A CONTRIBUTOR TO GOURMET DIY SHANGHAI?
Send an email to Heather at gourmetdiyshanghai@gmail.com and I will send you an invite to be a coauthor.
Showing posts with label breakfast. Show all posts

Wednesday, May 22, 2013

Zucchini and Mushrooms Frittata


Almost an omelette, "Frittata" is the result of eggs broken, beaten and cooked in a pan or in the oven. Simple frittata is just with onions but the options are almost infinite. Is your fridge crying empty and you have just eggs and some vegetables? Ready, done. Just a piece of salami? Then pepperoni frittata! 

If mum tells you have made a "frittata" that's another story ... it means you have messed things up and ... better to clean up before she get mad.

Let's have a look at the recipe here. I got all my stuff from kate and kimi online website http://www.kateandkimi.com/ and I loved the baby zucchini.

3 eggs
1/2 onion
10 baby zucchini or 2 big one (yellow and green)
some mushroom (as you like because you can go wrong)
a pinch of salt, pepper 
2 spoon extra virgin olive oil (or any oil you use for cooking). 
Butter works too but I like to stay more in the healthy side. A trick is to fried the onions or the garlic with a little olive oil and a couple of spoons of water. 

1. Cook separately the mushroom (I did with a piece of garlic and olive oil) till tender.

2. Cut round and sauté the zucchini (I did with garlic and oil). I like zucchini when they are still crunchy and not too soft.
3. Beat the eggs and add a pinch of salt and pepper (parsley if you have finely chopped). Season with spices if you like.
4. Fry the onions with oil and water (light version) till onions are transparent or fry till brown if you like. Add the zucchini and the mushrooms (quantity as you like) and stir for 1-2 minutes. I had more zucchini than mushroom, they were gone by the time I made the frittata.
5. Pour into the frying pan the eggs beaten and let it cook over low heat until set, shaking the pan often to stop sticking. 
6. If you are brave turn the frittata so it will be evenly cooked or cut in 4 pieces and turn every piece as I did.
Depending on how many eggs and how big is the pan you can have a thin or thick frittata. A big pan with little eggs made a thin frittata that cook more easily, a thicker one is more soft in the middle, pick you choice and do experiment.

Saturday, April 20, 2013

Basic Crepes

This past week was my son Miles' birthday, and when I asked him what he wanted for his birthday he replied without hesitation, "Crepes!"
We had these with fresh strawberries and some sour cream sweetened with powdered sugar. We also surreptitiously put a little Nutella on a few of them(hey- it was his birthday after all). Bananas, peaches or raspberry jam are also favorite toppings.
You can also turn crepes into a meal by stuffing them with more savory things like ham, asparagus, and cheese.Although they take just a bit more finesse than pancakes, your patience will be well rewarded. They are delicious with both savory or sweet fillings.

Ingredients:
2 eggs
1 cup milk
2 tbsp oil/butter
1/4 tsp salt
1 cup flour
Desired fillings


Directions:

 Assemble ingredients:
 Add eggs to bowl.
 Beat until well combined, then add milk.
 Add oil and salt and beat until well combined.
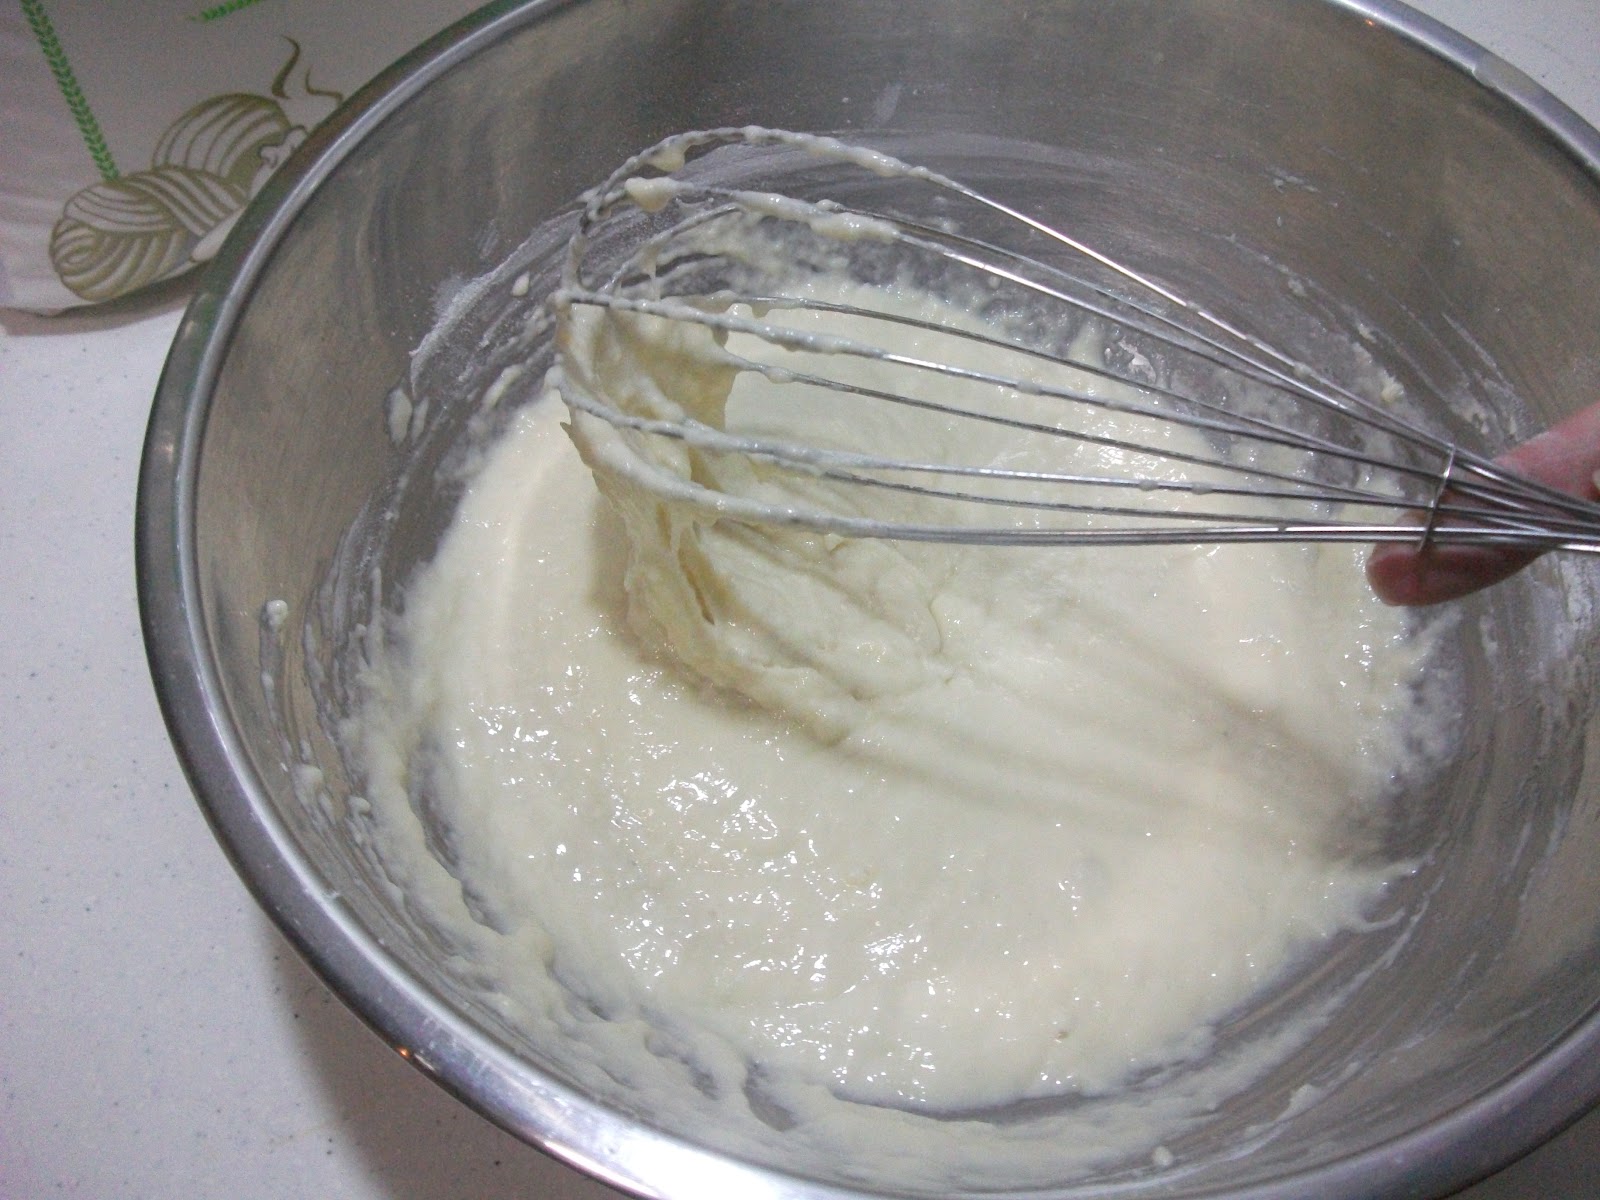
 Slowly add flour, whisking to combine until all of the flour is incorporated.

Grease your frying pan and heat over a medium flame until hot.

Add about 1/4 cup (80ml) to the center of the pan. Rotate and swirl the pan until the batter forms a nice wide circle.


Cook 2 minutes or until the edges start to crisp a little.
Carefully turn and cook on the other side until done.


Add desired filling.


Roll up. Eat and enjoy.


Wednesday, August 29, 2012

Homemade English Muffins


 About a year and a half ago I got asked to teach a class on Stove-top recipes. Until that time I never realized that English muffins were cooked on a griddle or in a frying pan.
It took me three tries with the recipes I found, working out the kinks before I got it to work, but it was worth it! Now they are one of my favorite things to make. The nice thing is that the muffins take a while to cook so you can do other things while you're cooking them. Usually I double the batch and then make them at night while my kids are sleeping and then spend the interim cooking time shopping on Taobao or blogging or something else. Just make sure you set a timer if you do that though!
They are amazing! My husband says he has been spoiled and can't go back to store-bought after this. I love them with honey and butter or some fresh strawberry freezer jam.
Make sure you store them in the fridge or the freezer. As they don't have any preservatives, they will get moldy after a few days if you leave them out.

*One note- you will need metal rings to make these. I got mine at my favorite kitchen supply store at the Hongqiao Flower and Bird Market.

Ingredients:
1/2 cup non-fat powdered milk
1 tablespoon sugar
1 teaspoon salt
1 tablespoon shortening or butter
1 cup hot water
1 envelope dry yeast (2 1/4 tsp)
1/8 teaspoon sugar
1/3 cup warm water
2 cups all-purpose flour
Non-stick vegetable spray


Directions
In a bowl combine the powdered milk, 1 tablespoon of sugar, 1/2 teaspoon of salt, shortening or butter, and hot water, stir until the sugar and salt are dissolved. Let cool.


In a separate bowl combine the yeast and 1/8 teaspoon of sugar in 1/3 cup of warm water and rest until yeast has dissolved. When the milk mixture has cooled and the yeast mixture turns foamy, add the yeast mixture.


Add the sifted flour and beat thoroughly with wooden spoon.  Don't over add flour. This is a very wet dough. The dough should be the consistency of thick pancake batter. Cover the bowl and let it rest in a warm spot for 30 minutes.


After the dough had risen for 1/2 hour, add remaining 1/2 tsp of salt and 1/2 tsp baking soda ad mix well.
Put rings on your griddle or pan. (I use my stockpot because it heats up more evenly than my frying pan and gives better uniformity to my muffins)
Spray the bottom of the pan and the rings heavily with cooking spray and sprinkle cornmeal inside the rings.
Set your flame on the lowest it will go without going out (My last apartment you could turn the flame down lower than this -this apartment I had to turn the flame off and on to keep the pan from getting too hot)


Add 1/4 cup of dough to the bottom of each ring.
Sprinkle cornmeal over the top of each muffin.
Let cook for 4-5 minutes. You will know when they are ready to flip because the top of the muffins will no longer appear shiny.
Flip and cook on the other side 2-3 minutes.
Let cool.


Split with a fork and enjoy!


Friday, August 17, 2012

Chewy Granola Bars

Chewy granola bars are such a great snack.  Heck, in my house they even make a great on-the-go breakfast!  I love making my own granola bars because 1) they taste better, 2) I think they're 'healthier', and 3) I can put whatever I want in them.  My favorite mix-ins are dried cranberries, chocolate, coconut and almonds but the possibilities are endless.  You can also use cereals, candies, dried fruits, nuts, nut butters- whatever you want.  I was trying to make them a little bit healthier this week so I used coconut oil as my fat, but you can use butter and they're absolutely decadent!  However, I still used the corn syrup.  Next time I'm going to make them using only honey  (I've seen coconut oil at Fields and the Avocado Lady.  Pines on Anfu Lu carries light corn syrup.)

Okay, here we go!  Gather your ingredients and preheat your oven to 350.  (See below for the measurements.)

Using a blender or food processor, blend 1/3 cup oats to make oat flour. 

Mix your dry ingredients together in a large bowl, including any dry mix-ins you want to use.

In a small bowl, whisk together your wet ingredients.  Pour the wet ingredients over your dry ingredients and mix well.  This is also where you'll stir in your nut butter if you're using one.

Line a baking dish with parchment paper and spray with cooking spray or coat with butter.  Spread the granola into the baking dish and press down so the granola is compact.


Bake for approximately 40 minutes until the edges and top are golden brown.  Cool completely on a wire rack.  Remove from the baking dish and cut into bars.  Make sure they're cooled completely before you cut them though or they won't hold their shape well!


Chewy Granola Bars
Adapted from Smitten Kitchen

2 cups oats, divided
2/3 cup granulated sugar
1/2 teaspoon salt
1/4 teaspoon ground cinnamon
2-3 cups mix-ins (I used 1/2 cup dried cranberries, 1/2 cup chopped semi-sweet chocolate, 1/4 cup chopped almonds and 1/4 cup shredded coconut)
1/3 cup nut butter (optional)
1 teaspoon vanilla extract
6 tablespoons coconut oil or butter, melted
1/4 cup honey
2 tablespoons light corn syrup

Preheat your oven to 350*F.
Using a food processor or blender, process 1/3 cup of the oats to make oat flour.
In a large bowl, combine the oats, oat flour, granulated sugar, salt, cinnamon and mix-ins.  In a smaller bowl, combine the vanilla extract, coconut oil or butter, honey and light corn syrup.  Pour your wet ingredients over your dry ingredients and mix well.  Add the nut butter, if using, and mix again.
Line a baking dish with parchment paper (mine was 17x23 cm) and coat with cooking spray or butter.  Spread the granola over the parchment paper and press down to pack the granola.
Bake for 40 minutes or until the sides and top turn golden brown.  Transfer to a cooling rack and cool completely.  Remove from the baking dish and cut into bars.

Sunday, July 22, 2012

Pumpkin Bagels

Back in the days when I worked as a dental assistant, one of the offices I worked at happened to be right across the street from an Einstein Brothers Bagel Shop. My favorite time of the year was right around Halloween because they always had pumpkin bagels and gingerbread cream cheese at that time. Well, I have yet to attempt gingerbread cream cheese(someday I promise I will) but here is the recipe I created for pumpkin bagels in Shanghai. (I used fresh pumpkin-available at any Shanghai wet market. See my previous entry on baking pumpkin if you've never done it- it is so easy, healthier and way cheaper than the stuff in a can)

Pumpkin Bagels

Ingredients:
3/4 cup pumpkin (mine was a pretty soft puree)
1 cup luke warm water
1/2 cup sugar
1 tsp cinnamon
1/4 tsp cloves
1/2 tsp ground ginger (you could easily sub fresh grated ginger)
1 tsp salt
1 tbsp brown sugar
1 tbsp yeast
5-6 cups flour

Directions.
In a large bowl add pumpkin.
Dissolve sugar in lukewarm water and add to bowl.


Add sugar water mixture, salt, spices, and yeast.
Stir well.
Add 3-4 cups of flour and stir to combine ingredients. Add flour 1/2 cup at a time until dough is too stiff to stir.
Knead in bowl or on counter for 8-10 minutes (I like to put on a show on the portable dvd player and get in my upper arm workout while I'm listening to something :) Keep adding a little flour at a time if dough is sticky.
Cover and let rise until doubled in size. 1 1/2 -2 hours.

Deflate by turning over in bowl a few times. Let the dough rest for 10 minutes. This will make shaping easier.
Divide into 16-24 balls depending on size preference.
Let rise 1/2 hour (Don't let them rise too much- it will seriously affect the texture of the top of your bagel if you do)
Using your floured finger, make a hole in the center of each bagel.
Pick it up and give it a little spin around your finger.
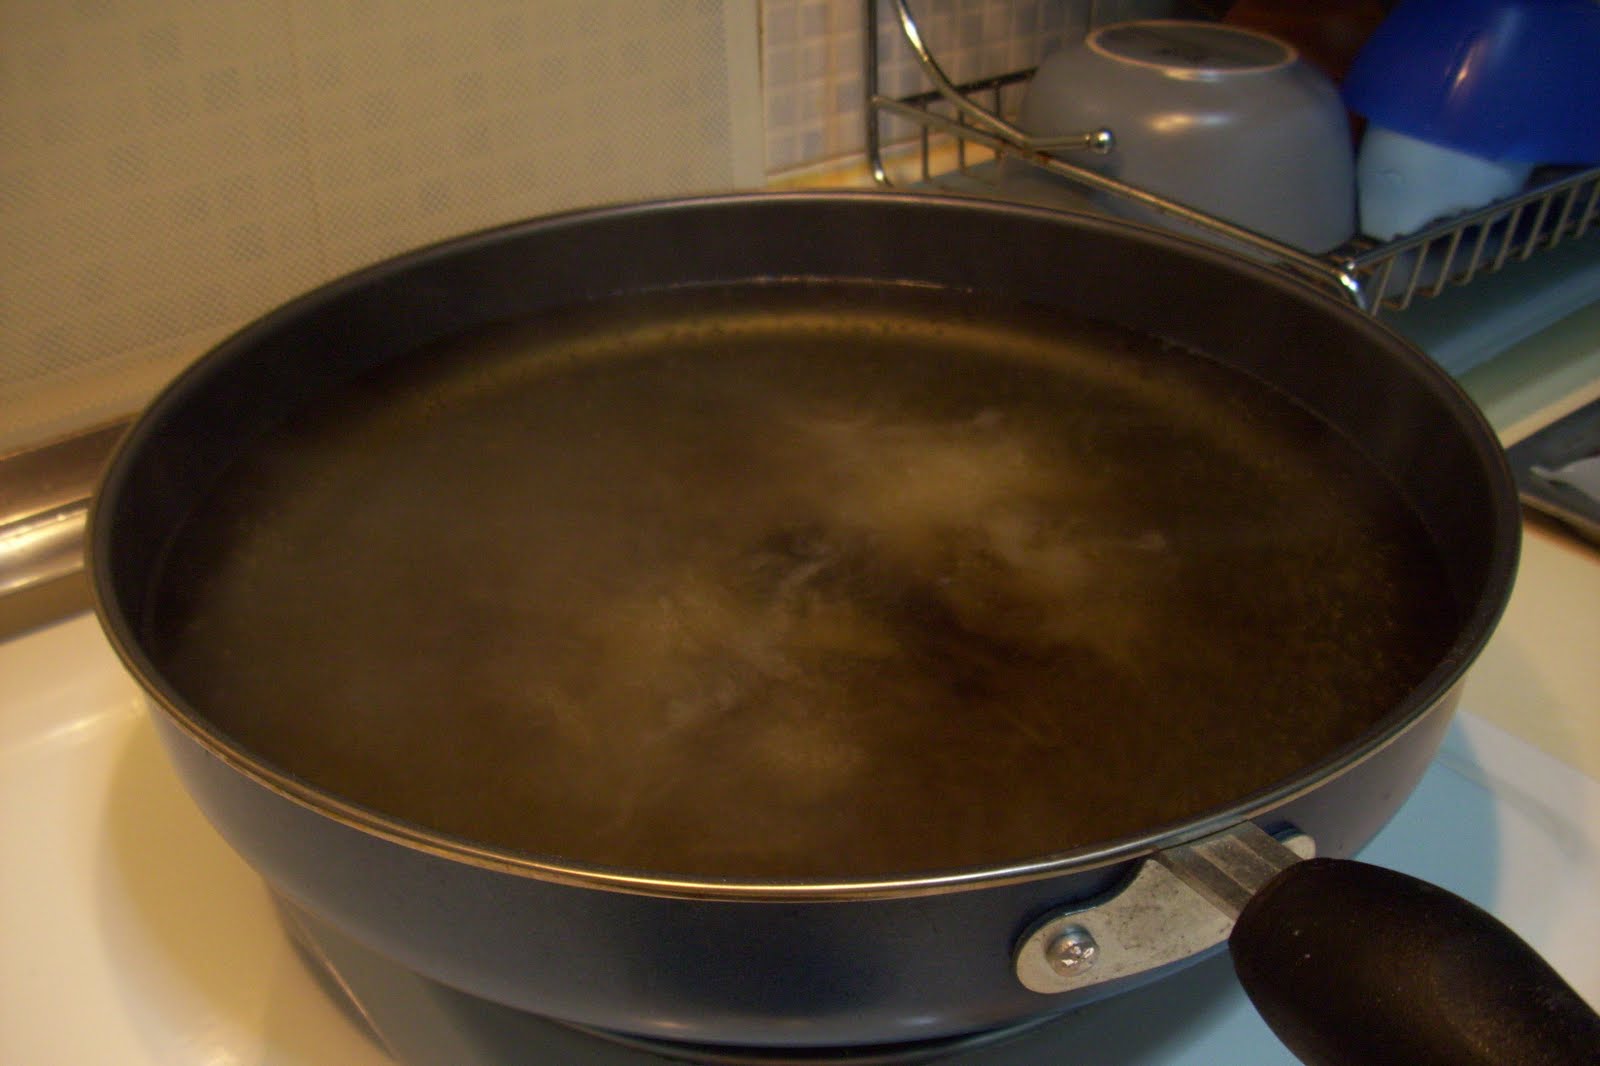
Meanwhile in a saucepan or wok (I actually like my wok best) heat 2-3 inches of water. Dissolve 2 tbsp brown sugar and 1 tbsp white sugar in the water. Heat until boiling.
Working in batches boil 6-8 bagels at time. Two minutes on the first side, then flip. Then one minute on the next side.
I use a bamboo chopstick to flip the bagels and to take them out of the water.
After the bagels have boiled transfer them to a parchment lined baking sheet. Parchment paper is not essential, but it makes it so much easier to get them off the pan. Cooking spray just doesn't work that well. The bagels have a tendency to become glued to the pan. Parchment paper solves this problem.
Bake at 215°C or 450°F for 15-20 minutes or until golden brown and crispy.
Enjoy toasted with cream cheese!